
Deploying Open AI’s Whisper Models to REST Endpoints With Modelbit
Automatic Speech Recognition (ASR) is witnessing a significant shift towards multi-accent or language-independent speech recognition. Its essence lies in decoding spoken language without the model being trained on a particular accent or language beforehand.
This capability changes the game for ASR models in real-world applications, considering the sheer number of accents and languages in the world. Using multi-accent methods, ASR models can better understand a broader range of dialects and languages without requiring additional transcriptions or continual training cycles.
One of the most prominent solutions pushing this transformation forward is Whisper from OpenAI. Whisper utilizes a type of model architecture known as Transformers. A significant advantage of this system is its independence from labeled data, which can be a hurdle in machine learning.
This in-depth guide will teach you how to deploy a Whisper model as a REST API endpoint for multi-accent speech recognition using Modelbit.
Let's get started! 🚀
Demo Overview
First, lets take a quick look at the solution you will build and put into use before we get into the code. This API will serve as a communication channel between your audio file and the final transcribed results.
.png)
Once the API receives a URL to an audio file, it will transcribe the audio content through a transcription service you will deploy with Modelbit and return the transcription in JSON format.
The REST API endpoint could find diverse applications, ranging from transcription services for online lectures or podcasts to real-time subtitle generation for streaming content, or even assistive technologies that aid speech-to-text conversion for those with hearing impairments.
Here's the game plan:
- You will start by setting up your environment in Colab.
- Next, download OpenAI’s Whisper through “pip” to use the API.
- Then, encapsulate a sample query to Whisper in a function, preparing it to be deployed with Modelbit.
- Test your REST API endpoint.
💻 If you'd like to code along, open this Colab Notebook!
Ready to dive in? Let's go! 🏊
OpenAI/Whisper Overview
Whisper is a general-purpose speech recognition model trained on a large dataset of diverse audio. It is a multitasking model that can perform multilingual, highly accurate speech recognition, speech translation, and language identification. That contrasts conventional ASR models, often limited by language or accent-specific restrictions.
But what truly sets Whisper apart? OpenAI designed Whisper to understand various languages and accents, marking a significant breakthrough in ASR. It has many possibilities for diverse applications, including assistive communication technology, transcription services, and more.
Modelbit Overview
Modelbit is a lightweight platform designed to deploy any ML model to a production endpoint from anywhere. Deploying small or large models is as simple as passing an inference function to “modelbit.deploy()”.
Here are the basics you need to know about Modelbit:
- Deploy from any Python environment: Models can be deployed directly from Google Colab (or local Jupyter Notebooks), Hex, Deepnote, VS Code—any Python environment.
- Detect dependencies: Automatically detects which dependencies, libraries, and data your model needs and includes them in your model’s production Docker container.
- Launch a REST API Endpoint: Your model will be callable as a RESTful API endpoint.
- Git-based version control: Track and manage model iterations with Git repositories.
- CI/CD integration: Integrate model updates and deployment into continuous integration and continuous delivery (CI/CD) pipelines like GitHub Actions and GitLab CI/CD.
Get started by installing the prerequisite libraries and setting up your environment!
Installation and Setup
As prerequisites, you will need the three main packages for this walkthrough. For reference, version numbers are listed for what was used during the making of this demo, but using more updated packages is encouraged:
- “ffmpeg==4.4.2” - An open-source software for handling multimedia data, including audio and video processing, encoding, decoding, transcoding, and streaming.
- “openai-whisper==20231106” - OpenAI’s Whisper package.
- The latest version of the Modelbit Python package to interface with the deployment platform.
Note: Run “apt-get update” and upgrade “pip” before installing your packages to ensure you download the latest package from the repositories. Updating “pip” is also good practice, as there are times when environments may have an older version of “pip”. Older versions may output errors when checking if your packages meet all other package dependencies in your environment.
Next, it's time to focus on considering which Whisper weights should be loaded into the Whisper model. The weight size is a significant decision that requires you to evaluate your current VRAM status.
For instance, if you're operating with free Colab instances, you can access NVIDIA T4 GPUs. These powerhouses come with 16GB of VRAM, giving you the capacity to load Whisper’s “large” class weights for this project. You can effortlessly change your runtime context to utilize this GPU on the upper right of your Colab notebook.

How would you decide on the appropriate weight size for Whisper compared to other GPUs? See this table, which provides all the insights you need to consider before loading your Whisper weights.
Also, for a comprehensive list of all the current weight class names, check OpenAI’s Whisper repository to see a detailed listing of each class size and select the most suitable weights for your requirements. Whisper’s weights will automatically download if this is your first time using them.
Download and Load Whisper Weights into Memory
Next, import the necessary dependencies for the walkthrough. This step lays the groundwork by ensuring access to all the required libraries, functions, and modules:
For smaller weights, pass “small” as an argument in the “.load_model()” function instead of 'large-v2'.
Once we import dependencies, we load the Whisper model with our weights, which have been considered by our system resources.
Test Whisper Locally with a Sample Audio File
Now that you have loaded the Whisper weights, we can call “model.transcribe()” with a file path to an audio file on your local system or Colab file directory. To do this, simply use the “wget” or your preferred method to download or record an audio file.
Next, call “model.transcribe()” and print out the transcription results.
Prepare a Whisper Transcription Function
Before we upload our working code to Modelbit, we need to wrap the transcription function in a function that will parse the inputs from our REST API endpoint. For our example, we can define a function that facilitates the transcription of online “.mp3” files. Below, we define a function aptly named “whisper_transcribe()”. We have designed this function to accept a URL, called “file”, as a string. This URL points to the audio file we want to transcribe.
The “whisper_transcribe()” function temporarily downloads the file from the URL. This downloaded file is then passed into the “model.transcribe()” function. This function prompts Whisper to do what it does best: transcribe speech into actionable textual data.
Once the transcription process finishes, the function returns a JSON object with the results.
Now, we can test this function locally before deploying. Executing it is as straightforward as passing a URL to the “whisper_transcribe()” function:
Feel free to run wild with your choice of audio snippets. You can experiment with the many different audio snippets available at this site. To utilize one of these snippets, simply right-click on the audio player of your choice, click on “Copy Audio Address…,” and voila! Feed this copied URL into the function, and witness Whisper work magic.
🚀 Deploying Whisper to a REST API Endpoint
Now that we've verified it works locally, it's time to see how easy it is to deploy our code directly to Modelbit with minimal lines of code.
🔒 Authenticate Modelbit to Register Your Notebook Kernel
Now that we have set up our environment, you need to authenticate Modelbit to securely connect to your kernel so that only you and authorized users can access your files and metadata.
👉 NOTE: If you don’t have a Modelbit account, sign up here—we offer a free plan you can use to run this demo.
Log into the "modelbit" service and create a development ("dev") or staging ("stage") branch for staging your deployment. Learn how to work with branches in the documentation.
If you cannot create a “dev” branch, you can use the default "main" branch for your deployment:
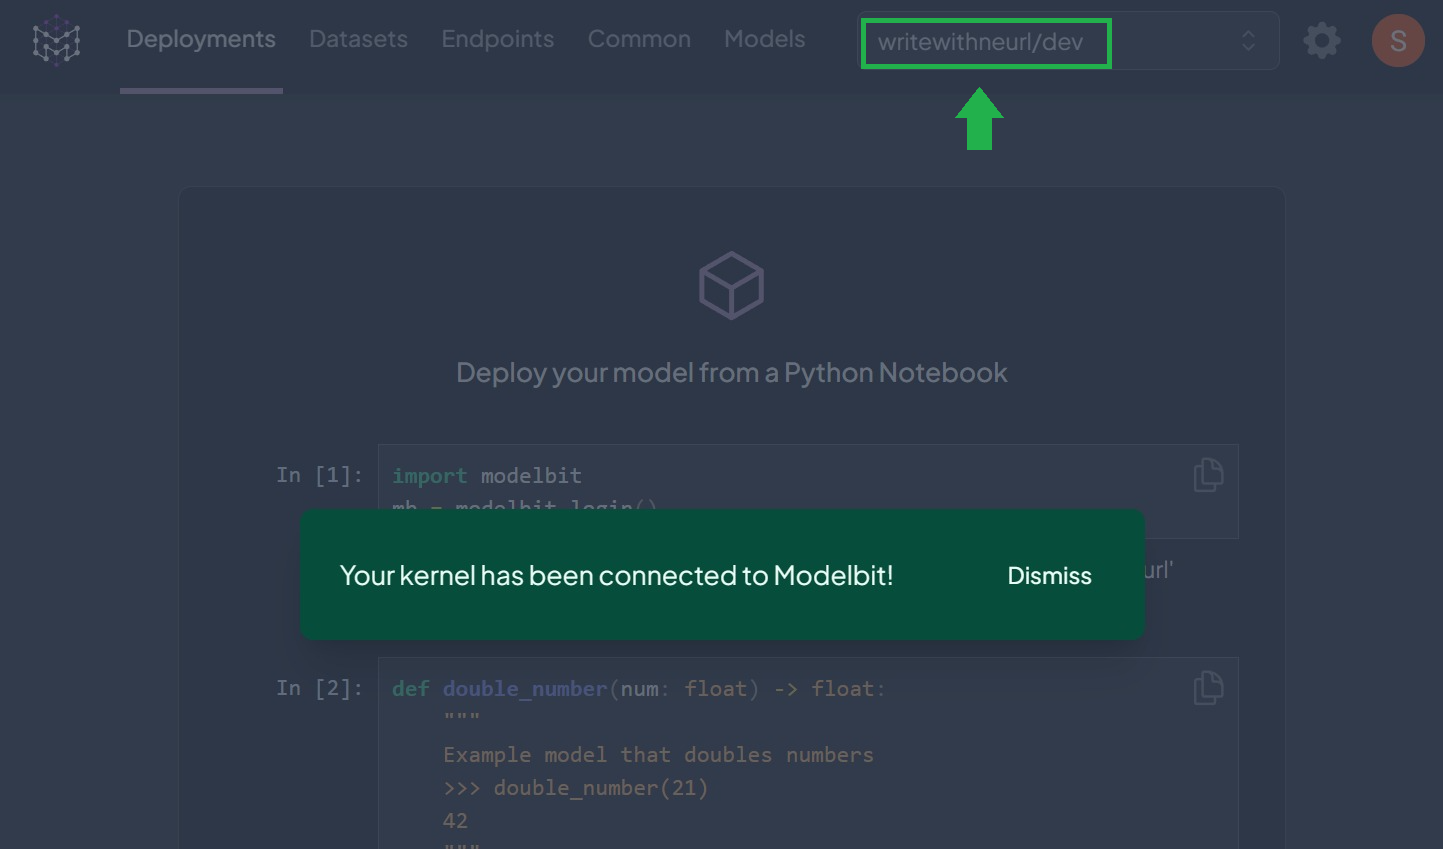
The command should return a link to authenticate your kernel. Click on the authentication link:

If the authentication is successful, you should see a similar screen:
⚡ Deploy Inference Function to Production with “modelbit.deploy()”
Finally, you are ready to deploy to Modelbit. When you call “mb.deploy()” API, a series of sophisticated operations execute behind the scenes, designed to streamline the deployment process:
- Pushes the source code to your Modelbit workspace, marking the initiation of the deployment process.
- Pickles project variables, which serializes the variables into a format suitable for effective storage and allows easy reconstruction.
- Automatically detects dependencies required by your application.
- Containerizes model weights and helper files to cut down on the possibility of errors, saving valuable deployment time.
- Spins up a REST API endpoint that replicates the development environment in production.
If there are any additional packages you require, there are other flags you can add to customize your runtime environment. For a deeper understanding of environment customization, explore the documentation here.
To use Whisper in production, as you have done locally, explicitly require Modelbit to enable GPUs for the inference service and mention “ffmpeg” as a system package needed for Whisper. After deploying, you can turn the GPUs on or off through your Modelbit dashboard.
Running that snippet may take several minutes. If the deployment is successful, you should see a similar output:

You should now notice the deployment process on the Modelbit dashboard has started the container build process:

Perfect! Once the build is complete, you should see the API endpoint where you can access your Whisper deployment and the source files that “mb.deploy()” detected from your notebook environment:

Ensure you copy your deployment endpoint from the Modelbit dashboard under “⚡API Endpoints”.
📩 Test the REST Endpoint with an MP3 URL
Once your deployment is ready, you can use your API endpoint now!
Test your endpoint from the command line using:
Replace the “ENTER_WORKSPACE_NAME” placeholder with your workspace name.
You can also test your REST endpoint with Python by sending single or batch requests to it for transcription. Use the “requests” package you imported earlier to POST a request to the API, and use JSON to format the response to print nicely:
You should receive a similar output as the response:
Nice! Next, go back to your dashboard on Modelbit to inspect the API logs to monitor usage and track the endpoint outputs:

Perfect! You have now deployed a working transcription service powered by OpenAI’s Whisper model. Run a few more tests with different audio files and lengths to understand the latency of your endpoint across varying audio lengths and whether it matches your production requirements.
If it does, you are likely ready to merge the deployment into the main branch or integrate it with your CI/CD workflow!
Conclusion
The ability of Whisper to decode a broad range of languages and accents represents a notable advancement in ASR. Earlier, you saw how language-independent ASR increases the potential for multi-accent recognition. You have seen that deploying the family of Whisper Models as a REST API endpoint isn't a Herculean task. Through Modelbit, we've converted what would have been a complex architectural setup into a few blocks of code—efficient.
With these findings, here are some of the next steps you could consider moving forward:
- Explore further: Experiment with other features of the Whisper model and deepen your understanding of its mechanisms and potential applications.
- Optimize performance: Try finetuning the model or experimenting with different configurations and weight sizes for the best results in your specific use case before shipping.
- Incorporate feedback and run tests: In production, the results of your model will be as good as the data it was trained on. Integrate user feedback into your pipeline to improve the model's effectiveness. See a list of integrations that Modelbit supports.
- Integration with other systems: Whisper can drastically improve any system requiring speech recognition - think about how you can integrate it within existing or entirely novel applications.
Till next time, happy shipping ⚡
Want more tutorials for deploying ML models to production?
- Tutorial for Deploying Segment Anything Model to Production
- Tutorial for Deploying OpenAI's Whisper Model to Production
- Tutorial for Deploying Llama-2 to a REST API Endpoint
- Deploying DINOv2 for Image Classification with Modelbit
- Tutorial for Deploying a BERT Model to Production
- Tutorial for Deploying ResNet-50 to a REST API
- Tutorial for Deploying OWL-ViT to Production
- Tutorial for Deploying a Grounding DINO Model to Production
